
Reviewed · ARTISAN CRAFT WORKSHOPS
Let’s make Japanese accessories with Mizuhiki
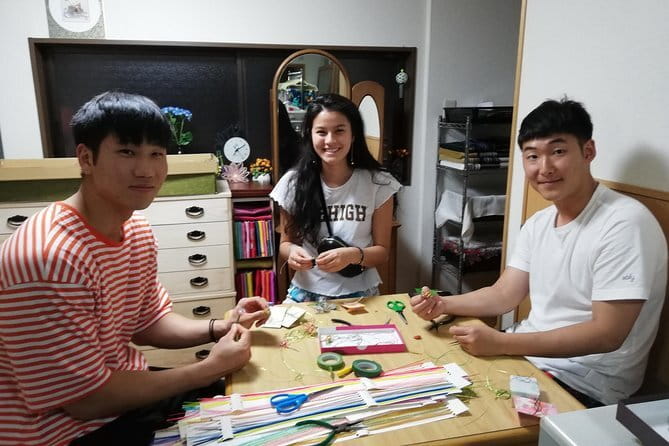
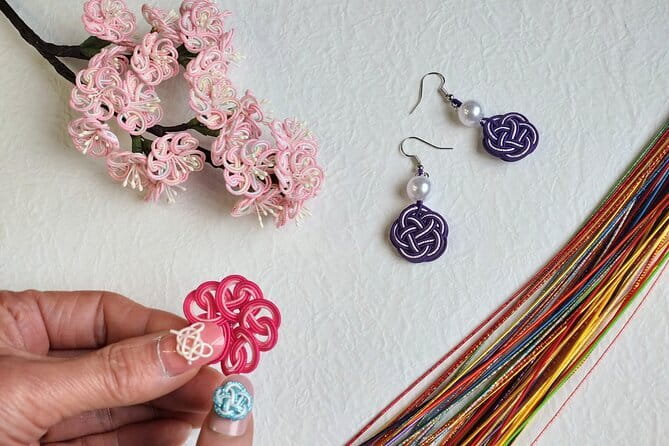
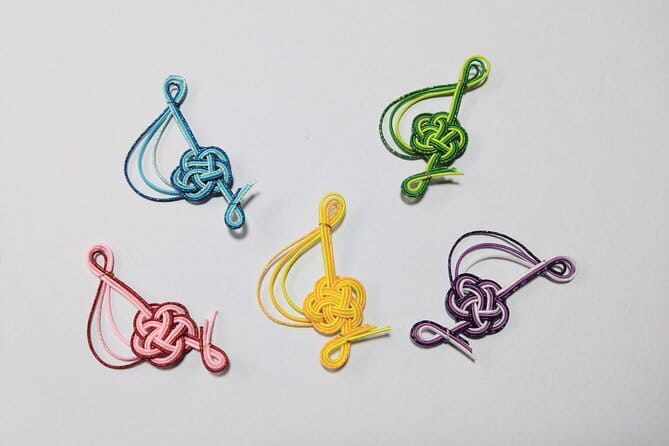
Mizuhiki knots make gift strings beautiful. This Kyoto workshop turns color paper and twisted mizuhiki cord into wearable charms, like strawberry straps and cute earrings, using an easy-to-follow rhythm and a calm, focused setup. What I like most is how you get hands-on practice with the classic abalone knot, and how the instructor keeps you moving step by step, even if your first attempt looks nothing like the sample.
There’s one practical catch to consider: this is a busy, one-hour format, so if you want ultra-detailed results or lots of extra designs, you may wish you had booked a second session or picked a simpler sample first.
In This Review
- Key things that make this class worth your time
- Mizuhiki basics, the knot you’ll actually use
- The 1-hour flow: from paper poche bag to finished charm
- Step 1: Pick colored paper for the pochi bag
- Step 2: Tie the abalone knot as the core connection
- Step 3: Practice the abalone knot on string
- Step 4: Choose your accessory from the sample set
- Step 5: Select mizuhiki colors and start building
- Step 6: Take a break with matcha and sweets
- What you make, and why it beats a standard souvenir
- Instructor support, including a named teacher vibe
- Price and value: $19.60 for materials and a snack break
- Where RakueJapan is, and how to plan your arrival
- Private class energy: best use of a one-group workshop
- If you want the easiest experience, choose like this
- Should you book this Kyoto mizuhiki class?
- FAQ
- What is the duration of the Japanese accessories with Mizuhiki class?
- How much does it cost per person?
- What is included in the price?
- What is not included?
- Where does the class meet in Kyoto?
- Is this a private class or a group class?
- Can I get a full refund if I cancel?
Key things that make this class worth your time
- Abalone knot practice first so the final accessory makes sense
- Choose from sample designs like hair ornaments, mini baskets, and earrings
- Materials included, plus a matcha and sweets break
- A patient, friendly teaching style (Akemi is named by one past student)
- Private, one-group class so you can actually ask questions
- Small-studio vibe in Shimogyo that feels local, not tourist-factory
Mizuhiki basics, the knot you’ll actually use
Mizuhiki is one of those Japanese arts that looks decorative but has a purpose. Traditionally, mizuhiki cord and paper knots showed up in rituals, and today it’s still tied to celebratory envelopes, especially when money is given for birthdays, weddings, and other occasions. In other words, you’re not just making something pretty, you’re learning a knot style with real cultural roots.
In this class, the focus lands on a key knot: the abalone knot. You start by practicing the knot with a plain cord so your hands learn the motions, then you apply that skill to your chosen accessory. That order matters. When you practice first, the final piece stops feeling like guesswork and starts feeling like a repeatable technique.
Also, mizuhiki comes in a spectrum of colors. You’ll get to pick from what’s available for your project, which is great if you want the finished accessory to match a gift theme, a bag color, or simply your own taste.
The 1-hour flow: from paper poche bag to finished charm
The lesson is structured so you can move through the steps without getting lost. Expect a straightforward progression from preparing the base to tying the knot to assembling the accessory.
Make something with a Kyoto craftsman
- Authentic knife making experience at a blacksmith in Kyoto
★ 4.8 · 350 reviews - Kyoto: Calligraphy class at Buddhist temple in city center
★ 5.0 · 167 reviews - Roketsu dyeing experience: M course Roketsu Dyeing Experience
★ 5.0 · 163 reviews - Kyoto: Japanese Calligraphy Class
★ 4.8 · 89 reviews
Step 1: Pick colored paper for the pochi bag
You begin by choosing colored paper to make a mini pouch, often called a pochi bag. This is your small canvas. The class treats the poche bag as more than packaging, it’s part of the design, and it gives the rest of your work a clear shape.
Step 2: Tie the abalone knot as the core connection
Next comes the basic abalone knot. You tie the knot to the poche bag, which is where the classic look starts to show up. The instructions are built around doing it in small pieces, not rushing to the finish line.
Step 3: Practice the abalone knot on string
Before you lock everything in, you practice the knot again with just a string. This is a smart learning move. Even if your first try is messy, you’ll get another chance to correct the tension and the angle, so your final knot looks cleaner.
Step 4: Choose your accessory from the sample set
After the knot foundations are in place, you pick the accessory you want to make from the sample designs. The workshop’s sample ideas include cute earrings, floral hair ornaments, mini baskets, and even straps shaped like strawberries. You also get the advantage of seeing real finished examples up front, so you can choose what matches your confidence level.
A day of temples goes further with something to break it up.


Step 5: Select mizuhiki colors and start building
Then you select mizuhiki and begin the accessory-making portion. This is the part that turns the lesson from technique into a personal item you can actually use in daily life or give as a small Kyoto gift.
Step 6: Take a break with matcha and sweets
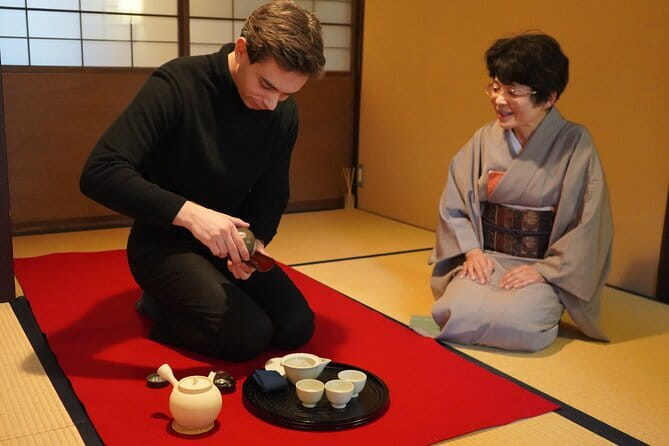
The class ends with a relaxed break: matcha and sweets. This is more than a nice extra. You’ll have time to pause, look at what you made, and calm your brain before you head back out into Kyoto.
What you make, and why it beats a standard souvenir
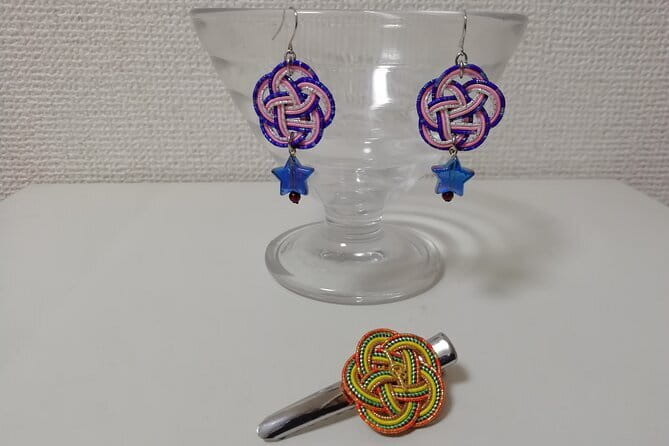
In one hour, you’ll create something you can genuinely use. That’s the big win. Kyoto has plenty of shops selling cute accessories, but learning the knotting system gives you a souvenir that feels personal because it came from your hands.
A few practical points to expect from the types of items discussed:
- Earrings and hair ornaments often need careful, tidy knot shaping, which is why the early knot practice helps.
- Mini baskets and pouch-related pieces tend to look best when your knot tension is consistent, not perfect. Even if it’s not identical to the sample, it still reads as mizuhiki.
- Small charm-style accessories are ideal for first-timers because the size keeps the work manageable.
Also, this class is clearly designed to give you that Kyoto-shop look quickly. That means if you’ve been browsing accessories and thinking you could never make anything like that, this workshop is built to lower the barrier.
Instructor support, including a named teacher vibe
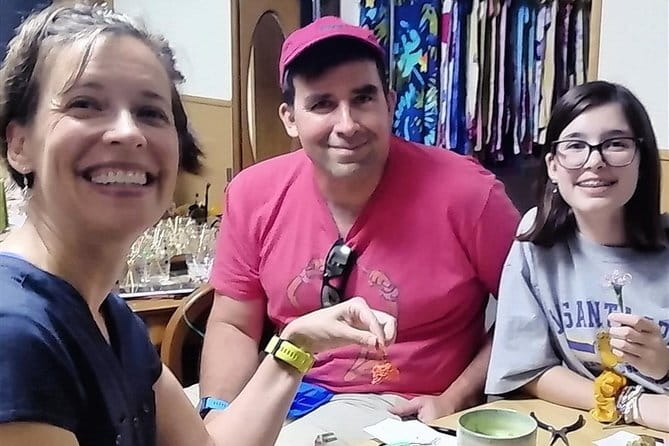
The teaching style is a standout. Past participants highlight that the instructor is welcoming, encouraging, and very patient, with clear guidance that helps you correct mistakes without feeling rushed. One review specifically names Akemi and praises her patience and step-by-step instruction.
What you’re really buying is time with someone who knows how to explain craft work in a way that sticks. In knot crafts, tiny changes in tension or placement can make a visible difference, so having that human correction in the moment is valuable.
This matters even more because the class is private. Only your group participates, so you’re not fighting for attention in a crowded room.
Price and value: $19.60 for materials and a snack break
At $19.60 per person for about one hour, the best value piece here is what’s included. You get materials, plus matcha and sweets, and you leave with an accessory you chose from the sample set.
That package is meaningful because mizuhiki craft supplies, even for small projects, can add up quickly if you buy them retail and then realize you’re missing a key component. Here, you don’t have to guess what to bring or what you forgot.
What’s not included is also clearly stated: mizuhiki for non-gift items and metal fittings if you want to recreate the project later at home. So if your plan is to keep making jewelry beyond this one session, you might want to note that you’d need extra components afterward.
One more value angle: this experience saves you time. You’re learning a Kyoto-specific craft at a local studio rather than spending hours chasing tools and instructions. If you’re short on time in Kyoto, one hour with the right guidance can feel like a bargain.
Where RakueJapan is, and how to plan your arrival
The meeting point is at RakueJapan, address: 600-8481 Kyoto, Shimogyo Ward, Shijōhorikawachō, 255 野村ビル 2階. The activity runs and ends back at the same location.
It’s also near public transportation, so you should not need a complicated taxi plan to reach it. You’ll want to build in a small buffer for finding the exact building entrance, especially if you’re arriving during peak foot-traffic hours.
Since the class is about one hour, it fits nicely between other Kyoto stops. I’d aim to schedule it when you’re not trying to sprint to your next reservation immediately afterward, because you’ll want a few minutes to settle in, focus, and enjoy the matcha break.
Private class energy: best use of a one-group workshop
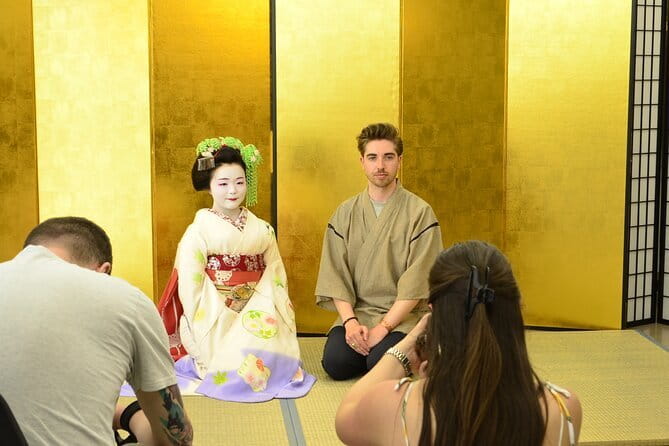
Because it’s a private activity, your group gets the instructor’s attention in real time. That’s a big advantage for a craft class, especially when you need help adjusting knot tension or repositioning paper.
The workshop is also listed as suitable for most travelers. That usually means you don’t need special skills or steady-handed perfection beforehand. In other words, if you can follow instructions and take your time, you can do this.
One more practical note: the work is published on Instagram under the handle rakue9. If you like seeing what’s possible before you arrive, checking that feed can help you pick the accessory design you want to target.
If you want the easiest experience, choose like this
Your success in a one-hour class often comes down to expectations and choice. Here’s how I’d make it easy on yourself.
- If you’re nervous about fine details, start by choosing an accessory that looks sturdy and not overly delicate.
- If you love color, pick mizuhiki colors that contrast with your paper base. That way, even if a knot isn’t identical to the sample, the overall piece still looks intentional.
- Be ready to practice once more than you think you need. The class includes practice with a string before going to the final accessory, and that’s the moment where your final piece improves fastest.
Also, plan to slow your brain down. Craft work rewards focus. The lesson is designed to pull you in, so if you’re the type who likes quiet, this will feel calming rather than stressful.
Should you book this Kyoto mizuhiki class?
I’d book it if you want a hands-on Kyoto memory that’s actually useful, not just something you hang on a shelf. The combination of traditional mizuhiki knots, an accessible one-hour structure, included materials, and a matcha-and-sweets break makes the price feel fair.
You might skip it if you’re the kind of traveler who only wants quick photos and zero concentration. This workshop asks for attention, and the goal is learning the knot and finishing an accessory you’ll be happy to wear or gift.
If you do book it, you’ll likely come away with more than an object. You’ll get the core knot technique and a sense of how mizuhiki turns simple materials into something meaningful, ready for everyday joy and gift-giving.
FAQ
What is the duration of the Japanese accessories with Mizuhiki class?
The class runs for about 1 hour.
How much does it cost per person?
The price is $19.60 per person.
What is included in the price?
Materials are included, and you also get snacks, including matcha and sweets.
What is not included?
Mizuhiki for non-gift items and metal fittings for making the accessory at home are not included.
Where does the class meet in Kyoto?
Meet at RakueJapan, 600-8481 Kyoto, Shimogyo Ward, Shijōhorikawachō, 255 野村ビル 2階. The activity ends back at the meeting point.
Is this a private class or a group class?
It is private, meaning only your group will participate.
Can I get a full refund if I cancel?
Yes. You can cancel up to 24 hours in advance for a full refund. Within 24 hours, refunds are not available.
New This Season
- Koyasan Day Trip by Private Car from Kyoto
- Old Port Town and Ultimate Sake Tasting Private Tour From Kyoto
- Kyoto’s Timeless Charm: 3hr Exploration of History and Peace
- Kyoto: 5 Types of Sushi Making
- Sacred Peak & Ancient Paths: Kurama-Kibune Hiking Experience
- Kyoto: Exclusive ZEN practice at Manpukuji temple in Uji
- Kyoto: Private Seasonal Aroma Yoga Class
- Traversing Kyoto’s Scenic West – Arashiyama to Kinkakuji
Artisan Craft Workshops, compared.
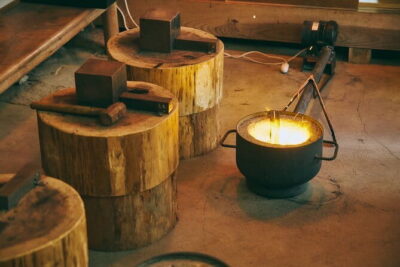
Authentic knife making experience at a blacksmith in Kyoto
Read our review →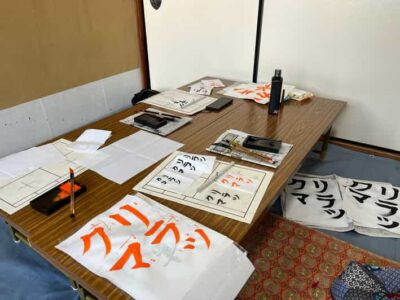
Calligraphy class at Buddhist temple in city center
Read our review →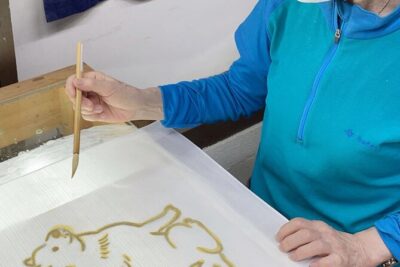
Roketsu dyeing experience: M course Roketsu Dyeing Experience
Read our review →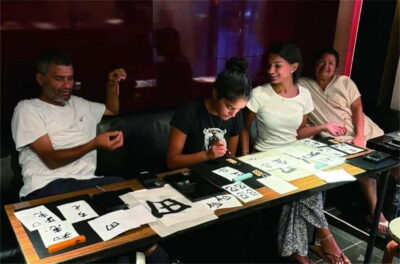

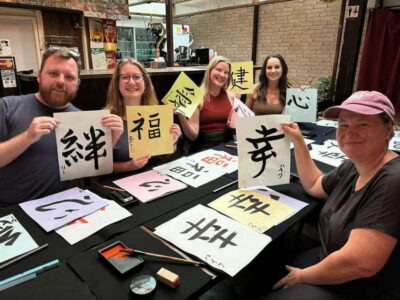
Traditional Japanese Washi Papermaking- Kyoto morning
Read our review →
Also filed under